Different species of cover crops are appropriate for different growing scenarios
The benefits of cover cropping are well established at this point. Beyond the myriad of studies demonstrating increases in soil organic carbon, soil stability, microbial biomass and yield, cover crops have thousands of years of precedent among indigenous populations all over the world. Native populations have long utilized fallow periods to replenish soil. It may not be rye and vetch, but the results of growing something that is not harvested are clear — the soil benefits from plant coverage.
Employing cover crops on a commercial vegetable farm, however, is easier said than done. Sometimes there simply isn’t the room to take a plot out of production for a few months to grow a summer cover crop. Or there isn’t time after the fall cropping cycle to get cover crops established. Moreover, plots may simply be needed well before a cover crop can be effectively terminated in the spring. If you are growing regeneratively and organically, the options for chemical termination just aren’t there. In other words, where a conventional no-till grower may be able to plant rye and vetch after their harvest and terminate it with herbicide in the spring — regardless of what growth stage it is in before drilling seeds — a diversified vegetable farm has to go about incorporating cover crops differently, especially if they want to reduce or eliminate tillage.
In this article, I’m going to discuss how we incorporate cover crops on our intensive, no-till organic farm in Kentucky. I’ll also incorporate lessons I’ve learned from growers I’ve interviewed and met through my work at notillgrowers.com.
Using Winter-Hardy Cover Crops
The biggest mistake anyone looking to get into cover cropping can make is choosing the wrong cover crop for their situation. Rye and vetch are great together, for instance, but these winter-hardy crops may push your season back a little bit in the spring and require a good termination plan.
Though varieties can vary a bit based on your growing region and hardiness zone, a small list of the cover crops generally considered “winter hardy” includes winter rye, vetch, winter wheat, Austrian winter pea, crimson clover and triticale. Here in Kentucky — zone 6b — these are all considered winter hardy.
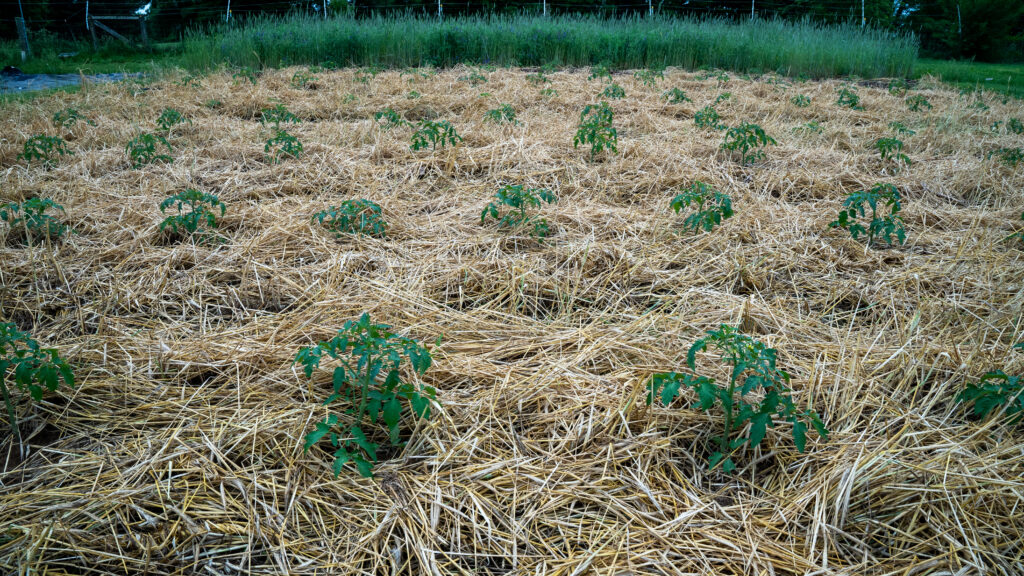
We like to do a late round of tomatoes in the field when the weather is a bit drier to avoid leaf blights. One rotation, for instance, starts with sweet potatoes that are harvested in early October, followed by a winter cover crop of rye, vetch, winter wheat and crimson clover. That cover crop is then terminated in May and planted to tomatoes in early- to mid-June.
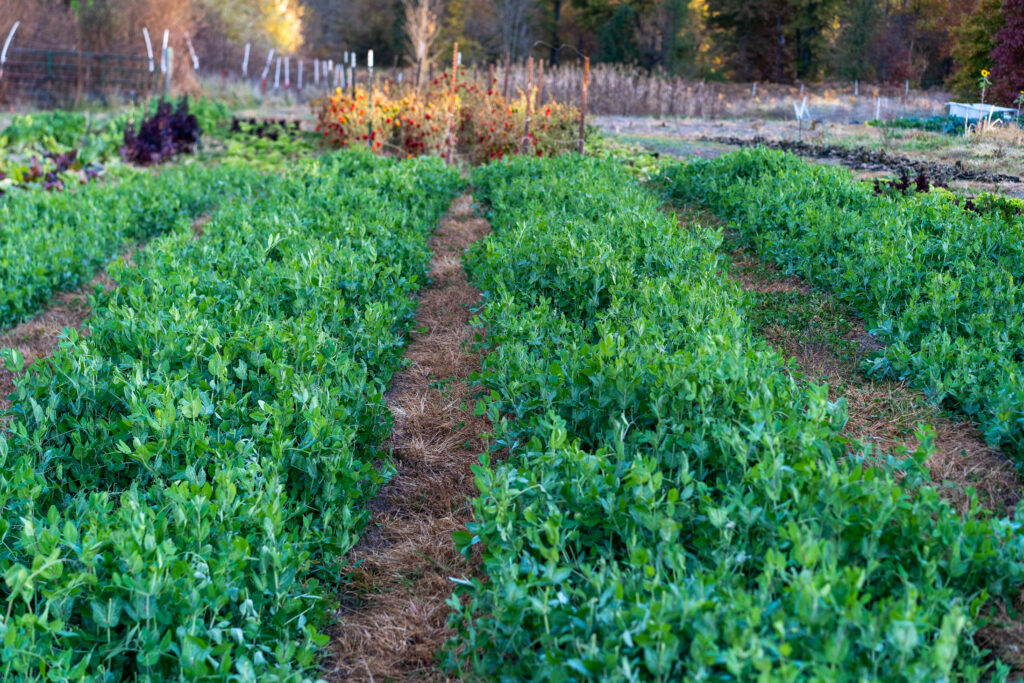
Another example comes from 2020, when we had purchased a new farm and had an area that was suffering from poor drainage. We grew summer squashes and beets the first year, then we sowed a rye and hairy vetch mix in late August and allowed it to create soil organic matter in that area over the winter. In the spring we terminated that cover crop and planted a round of summer lettuce. We lost a little production in the early spring, having the cover crop where we would typically have a cash crop, but we saw great yields on the lettuce, and then the carrots that followed. Drainage was not an issue, and we lost no carrots to rot (even harvesting them all the way into January).
In both above examples we had the cash crop out in time to establish the cover crop. We also had to plan to not be able to utilize those plots until later in the spring or early summer. Knowing how we planned to use those areas the next year helped us decide which covers to use.
Using Cold-Hardy Cover Crops
“Cold-hardy” cover crops are generally not as hardy through multiple frost and freeze cycles, so they are typically sown in the late winter or early spring but are not expected to reach full maturity until late spring. These include all of the above winter-hardy cover crops, plus wheat, barley, lacy phacelia, cilantro, peas and oats, plus mustards and crimson clover (the latter two can also be winter hardy in many regions).
These cold-hardy cover crops come in handy when a plot where you hope to put a cover crop still has a cash crop late into the fall. Fall carrots, for instance, are often in our beds until the winter, not allowing enough time for a winter-kill cover crop. However, sowing later in the winter gives you more options in terms of crop diversity. So long as you do not need that area early the following year, you can sow a mixture of cold-hardy seeds and expect the crop to be smaller than a winter cover crop in the spring, but able to be terminated at roughly the same time (late spring).

Using Winter-Kill Cover Crops
Winter-kill cover crops are some of the most valuable in our operation because they feed the soil all winter, keep the soil from eroding, and can be easily raked off in the spring for immediate planting.
Examples of winter-kill cover crops are peas and oats, tillage or daikon radishes, plus all the summer cover crops listed below. Note that neither peas nor oats will winterkill easily if they have not produced enough aboveground biomass first, so planting them early enough to winterkill is key — otherwise they can be a problem in the spring.
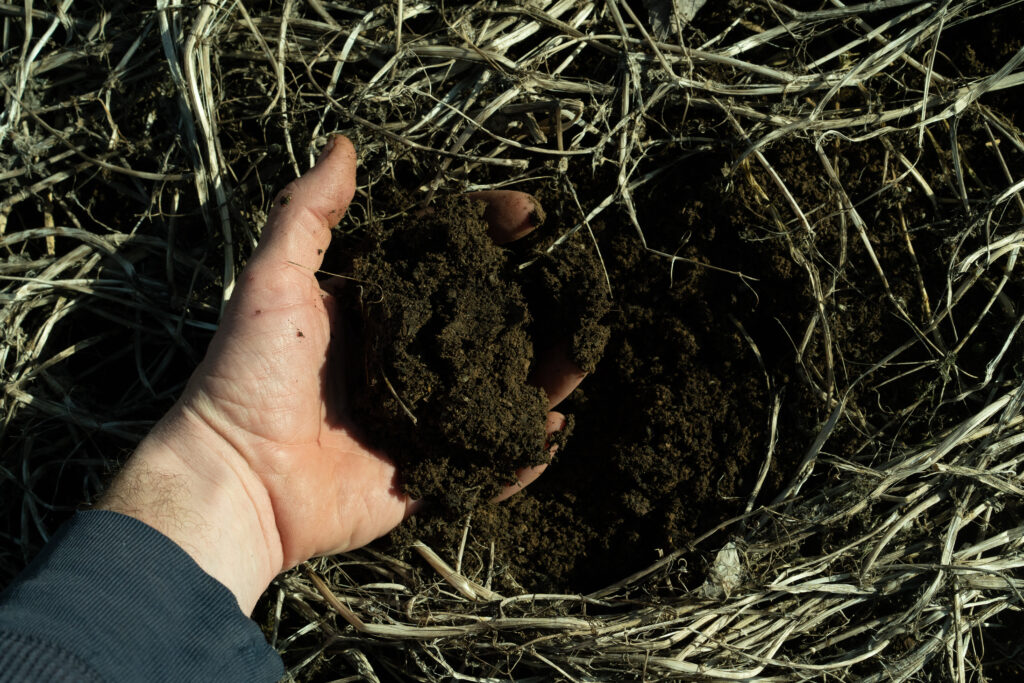
As we begin to wind down our production in the late summer, we will start sowing these winter-kill cover crops all the way up to mid-September, or early October at latest. The goal is to get enough aboveground biomass that the plants adequately die while also leaving behind a decent mulch. So, after they are sown — preferably with a seeder — we irrigate if need be to ensure germination. The cover crop grows until a series of hard frosts kill it. Then it lays on the surface like a mulch, but the bed is essentially ready to plant whenever we need it, with just a light raking.
The various tillage radishes can be sown with either winter-kill cover crops or winter-hardy cover crops. Incorporating these deep radishes into cover crops is generally a good idea for compacted areas but also for preserving nitrogen for the following year. An important consideration, however, is that the large roots can be slow to break down in the spring and therefore are usually best in winter cover crops — rather than planted in plots you intend to utilize early for cash crops.
Generally speaking, any crop ground that is finished producing by the late summer and is needed in the early spring is a good candidate for these types of cover crops.
Using Summer Cover Crops
Gaps between crops, or plots that are in preparation for winter crops like garlic, make for good summer cover crop situations. However, they can also be used as winter-kill cover crops, especially in areas further south of us here in Kentucky that receive fewer hard freezes.
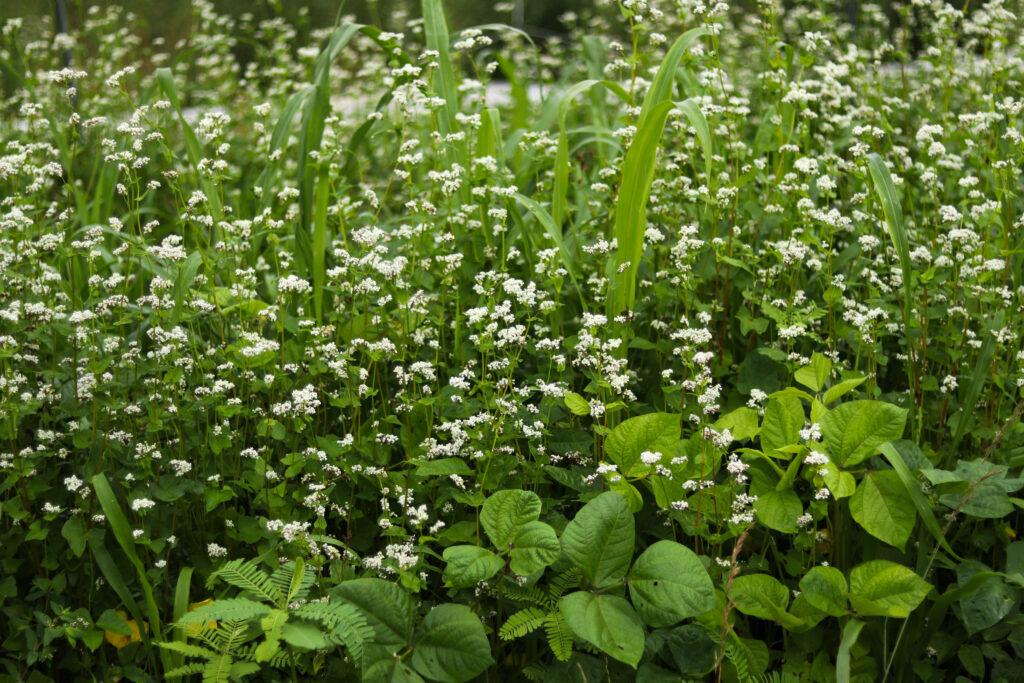
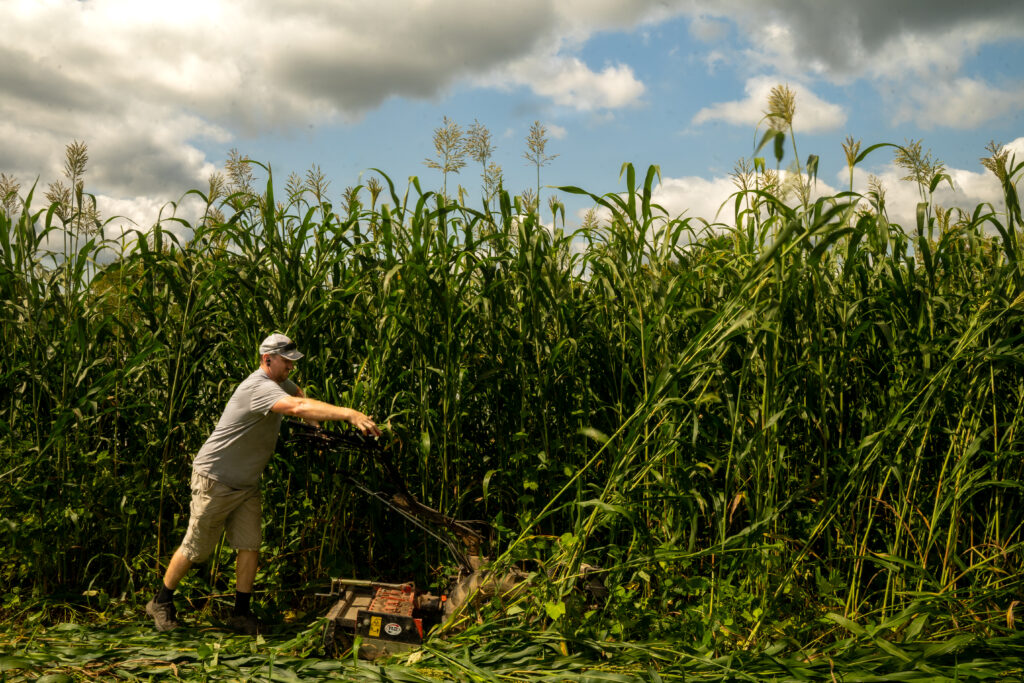
Many different crops can be used as summer cover crops, but the primary varieties used on our farm include sorghum sudangrass, buckwheat, sesbania, sunnhemp, sunflower, okra and most beans or peas.
We rarely use buckwheat in a mix. It is almost always used as a quick placeholder in our fields between crops because it will “outrun” every other cover crop and go to seed before the rest reach maturity.
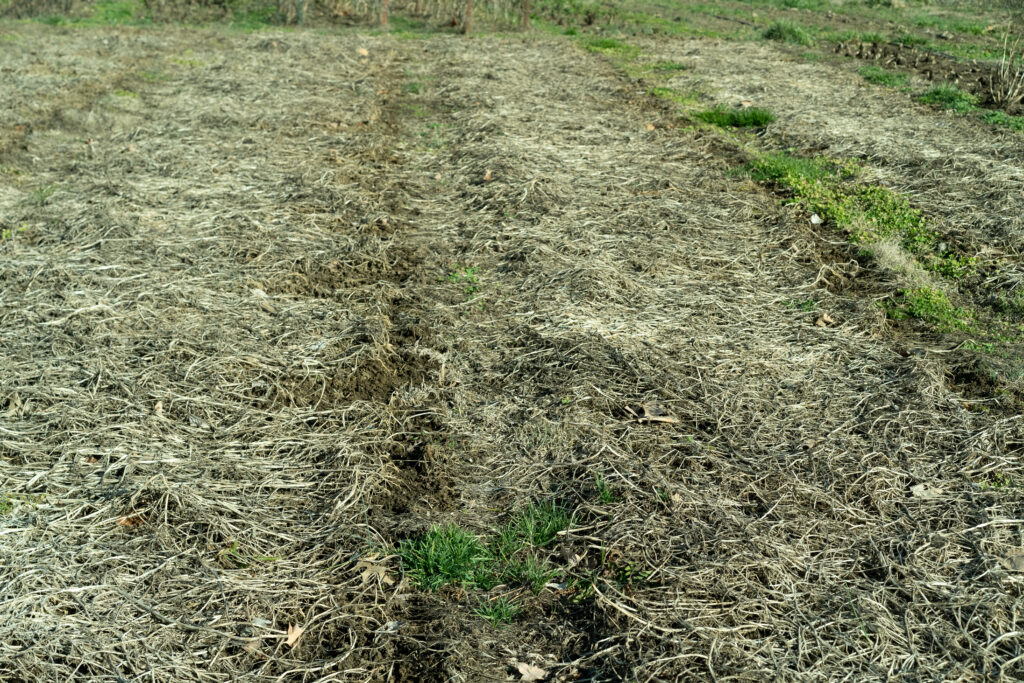
An example of how we might use a slower summer cover crop is after our late potatoes come out in early August. Then we will sow a summer cover crop of the aforementioned species. Just before the first hard frosts, we will run it over with a power harrow to knock it down, and then we allow the winter to do the rest. If we need that area early, we just allow the cover crop to break down and then rake it off in the spring. If we don’t need it until early summer, we will broadcast a winter cover crop mix (especially with crimson clover, which germinates well on the surface), just before crimping the summer cover crop.
Microbes and Mixes
Priming the seeds (by soaking them overnight and then drying them) will help improve germination on most cover crops that are not brassicas or umbellifers like dill (which is a good addition for beneficials in summer covers). We often prime seeds in a compost extract or compost tea; or, if we do not have the time, we will rub the seeds with compost to coat them with microbes. Spraying the field with compost teas is fine, but the most efficient thing is always to inoculate the crop when it’s in its most accessible and compact form –– as a seed.
Though results vary based on climate, location, soil type and implementation, multispecies cover crops (as opposed to single species) have generally been shown to improve yield and various soil properties. My biggest recommendation for mixing, however, is to carefully select the species so that they can all be terminated the same way –– you don’t want to throw a winter-hardy cover crop like Austrian winter pea into a cover crop mix that you hope will be terminated by freezes, for instance.
The biggest turn-off for growers when utilizing cover crops is the risk and the time. But with a little planning, cover crops can fit right into just about any growing system — at any scale, on any farm.
For further details on cover cropping, pick up a copy of my book The Living Soil Handbook from the Acres U.S.A. bookstore.
Jesse Frost is an organic farmer in central Kentucky. He is the author of The Living Soil Handbook: A No-Till Growers Guide to Ecological Market Gardening. He is also the creator of The No-Till Market Garden Podcast and co-founder of notillgrowers.com.
| Seed Priming Seed priming is a well-researched method of improving germination, inoculating, or enriching seeds, and sometimes even increasing drought tolerance among other abiotic stresses. In its simplest form, seed priming involves soaking the seeds overnight and then drying them out. After they are dried, they can last anywhere from two to six months, depending on the seed. Brassicas, umbellifers and alliums are seed families that can be a little more difficult to prime due to their sensitivity to drying out, so we typically avoid priming those families, opting instead for soil drenching with compost teas or adding microbially rich composts before seeding. Most other cover crop and crop seeds are fair candidates (spinach being arguably the most commonly primed seed). Beyond just filtered water, there are a number of liquids commonly used for priming, including nutrients like phosphorous or plant hormones like gibberellic acid 3. There are also “biopriming” options, such as commercial biologicals, but homemade compost teas or extracts work well too (just make sure they are well filtered). For drying, many set-ups work — from racks with very thin screens to flat seed trays. At Rough Draft Farmstead we employ nursery flats with small holes for larger seeds, and old row cover for smaller seeds. The moisture simply has to be removed quickly to avoid decomposition, so putting a fan on them is ideal. Lay the seeds out in a thin layer after soaking and stir them until they are dry enough to add to a seeder or easily broadcast. The seeds should feel entirely dry to the touch. Then sow or broadcast as you would any other seed. |


